Earscaping: The Art and Trend of Stylist Ear Decor
Earscaping, a term coined to describe the artful adornment of one's ears, has emerged as a vibrant trend in the world of fashion and self-expression. Move over traditional ear piercings; earscaping goes beyond the conventional, encouraging individuals to transform their ear anatomy into a canvas for creativity and personal style.
At the core of earscaping lies a variety of ear piercings and ear jewelry options that cater to diverse tastes and preferences. From the helix and tragus to the daith and conch, there are numerous areas on the ear that can be embellished to make a unique statement. Earscaping allows individuals to curate a personalized constellation of piercings, forming a visual symphony that complements their individuality.
One of the key features of earscaping is the emphasis on curated collections of ear jewelry. Gone are the days of sporting a single stud or hoop; earscapers experiment with an array of studs, hoops, cuffs, ear jackets, and ear climbers to create a dynamic and visually appealing composition. Mixing and matching metals, styles, and sizes add an extra layer of intrigue to this evolving trend. Tiny, delicate studs may be juxtaposed with bold statement pieces, contributing to a balanced and visually captivating look. Ear cuffs, which require no piercings at all, have become a popular choice, offering a temporary yet stylish way to join the earscaping movement.
Here's a glimpse into the diverse landscape of ear piercings, each offering a distinct way to adorn this canvas of personal expression:

I) Lobe Piercing
Pain Level: 1/10
Healing Time: 6-8 weeks
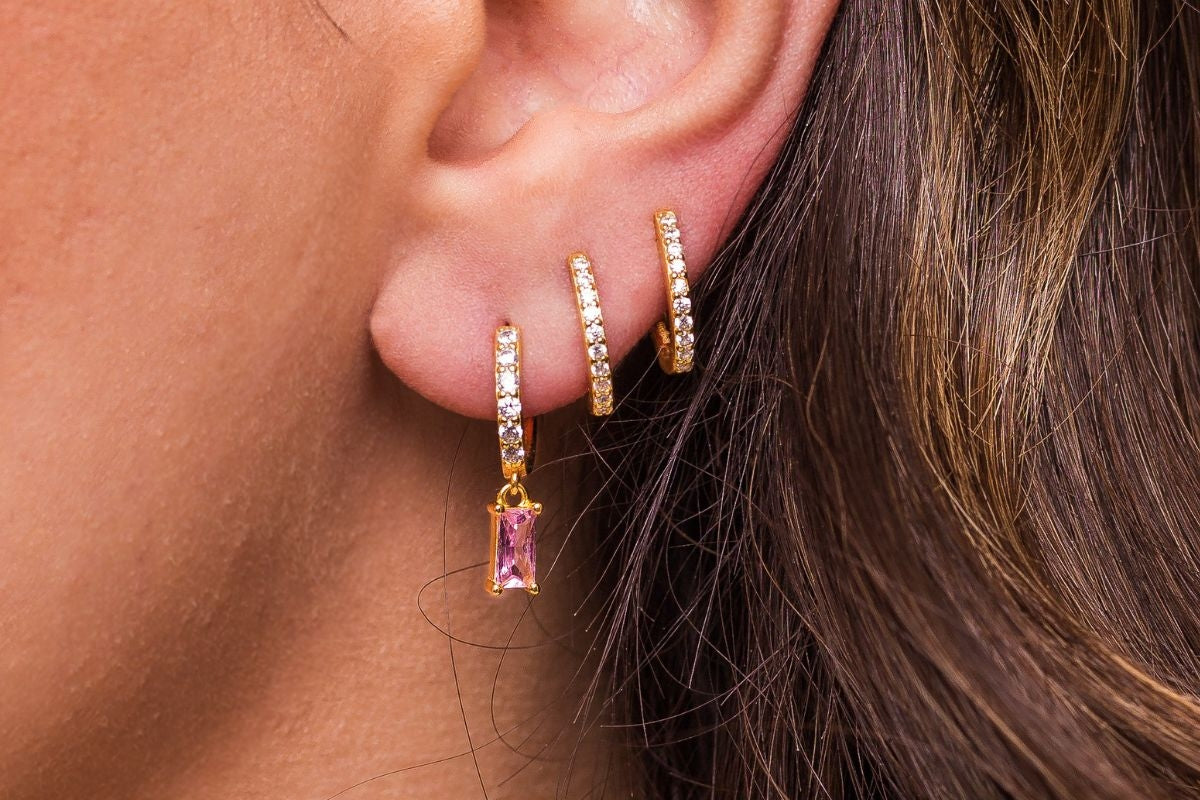
The classic earlobe piercing is a universal and timeless choice. The lobe is the easiest part of the ear to heal and the least painful to pierce. You can change the jewelry just after three months of heal time. There is also enough space on the lobe to allow for double or multiple lobe piercings. Stylish stacks of earrings o the earlobe are a popular trend, allowing for creativity and versatility.
II) Helix Piercing
Pain Level: 4/10
Healing Time: 6 months to 1 year
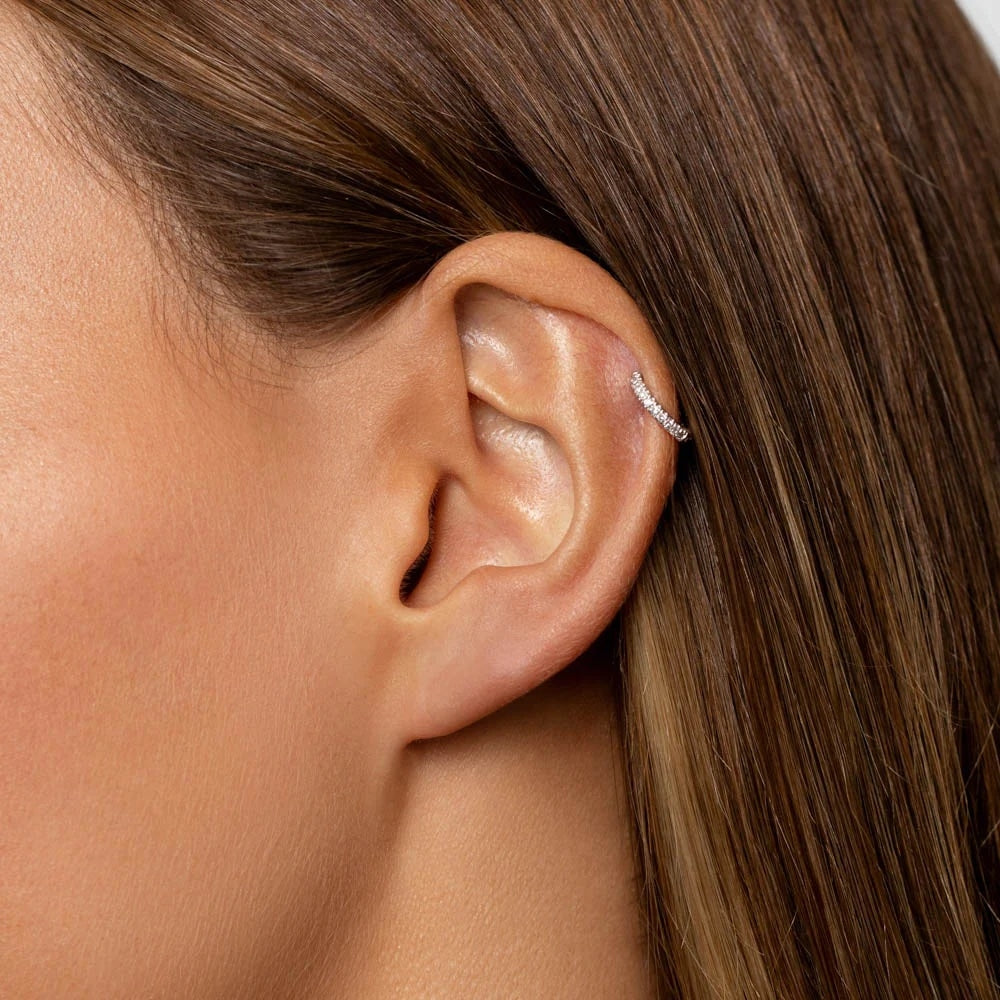
The standard helix piercing involves a single puncture along the outer rim of the ear's upper cartilage. It's a versatile option that can be easily customized with a variety of jewelry styles, ranging from dainty studs to bold hoops. This piercing is often the first choice made after the lobe piercing.
III) Forward Helix Piercing
Pain Level: 5/10
Healing Time: 3-9 months
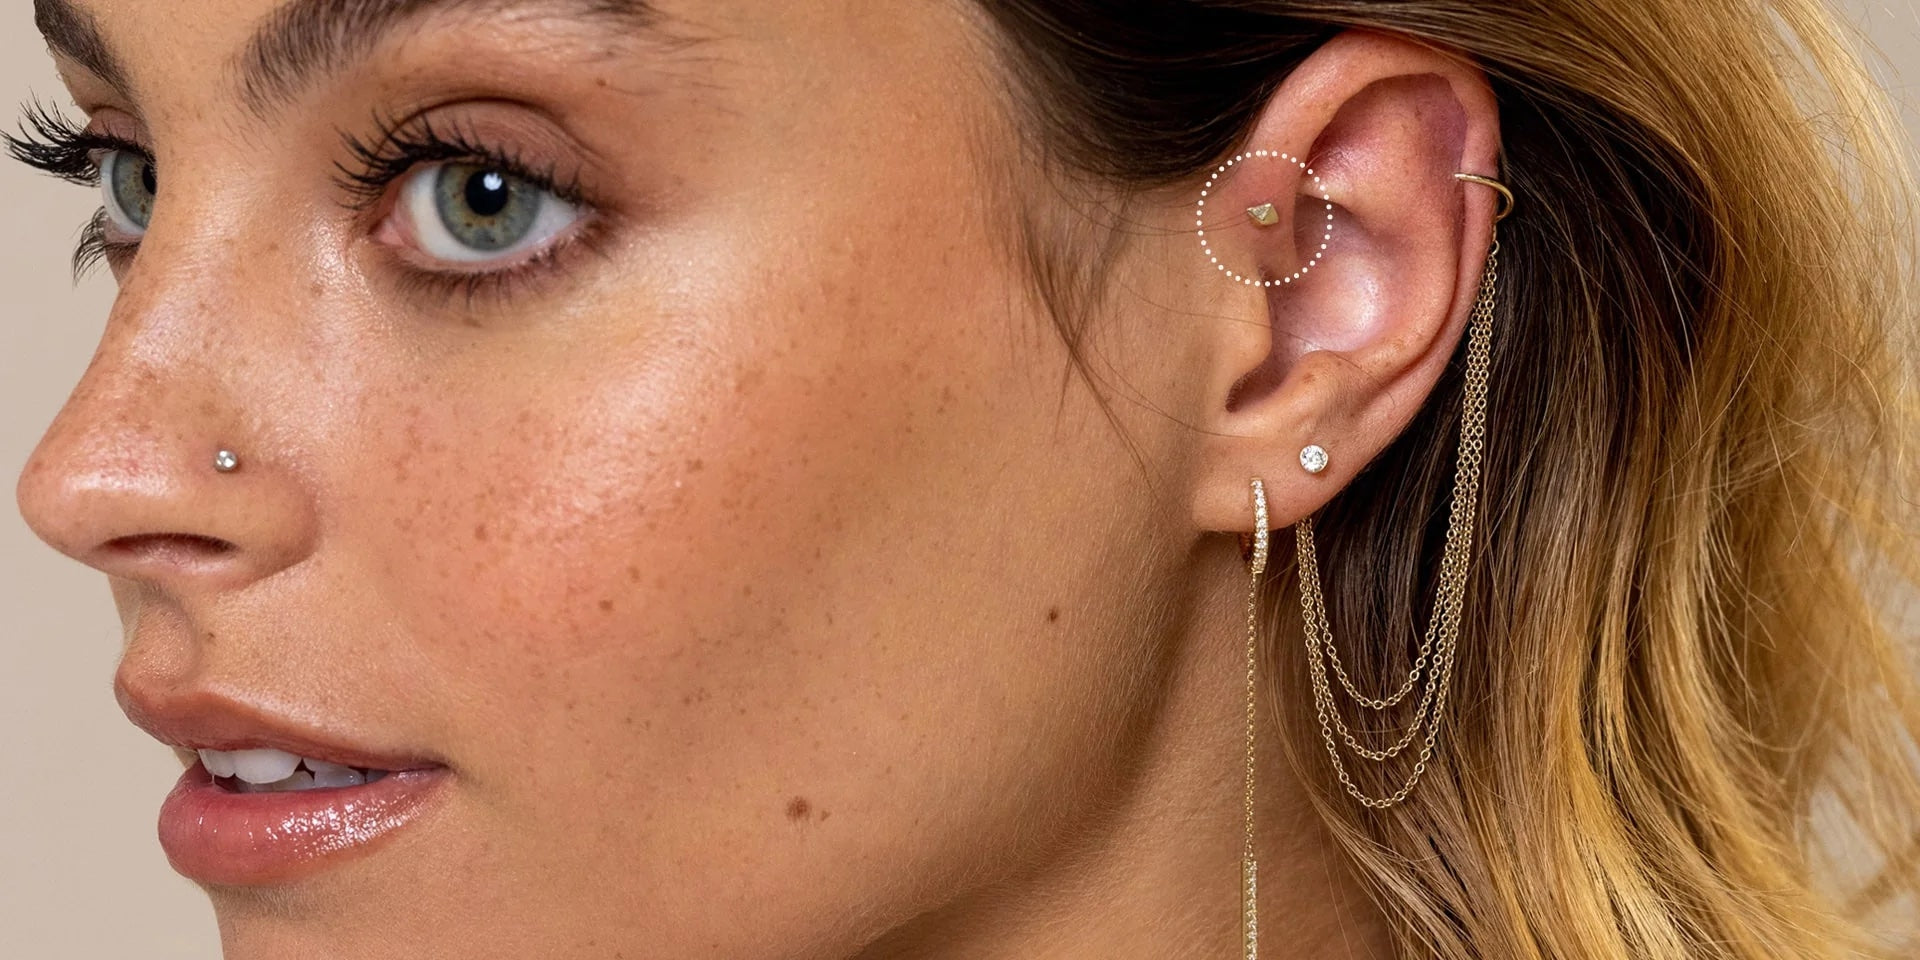
Positioned on the front side of the ear's upper cartilage, the forward helix piercing is a bit more tricky than your standard helix piercing because it has to be perfectly lined up with your ear and will likely hurt more.
IV) Tragus Piercing
Pain Level: 5/10
Healing Time: 6-9 months
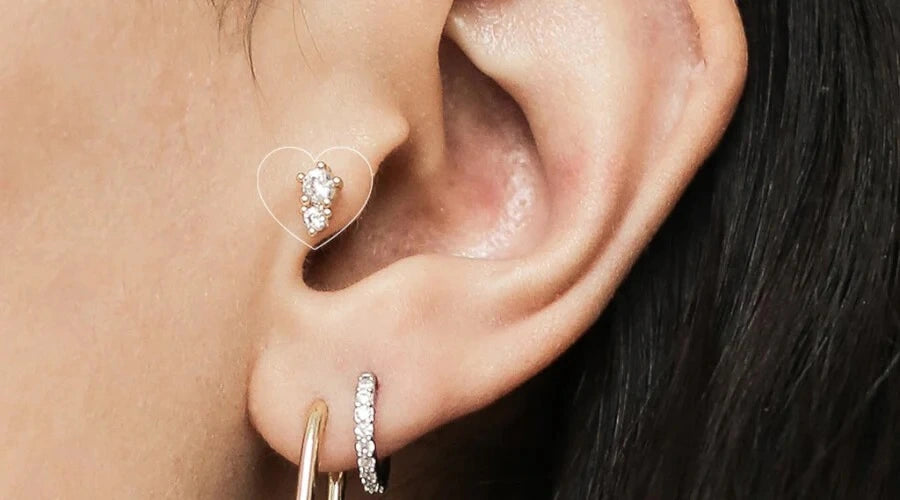
The tragus is the small, raised flap of cartilage that sits in front of the ear canal. When adorned with a piercing, it creates an eye-catching focal point that stands out against the backdrop of the ear's anatomy. Tragus piercings accommodate various jewelry styles. Tiny studs, captive bead rings, and small hoops are popular choices. What sets the tragus piercing apart is its subtlety. Avoid wearing earbuds during the healing process because the earring post is going to be blocking where your earbuds will go.
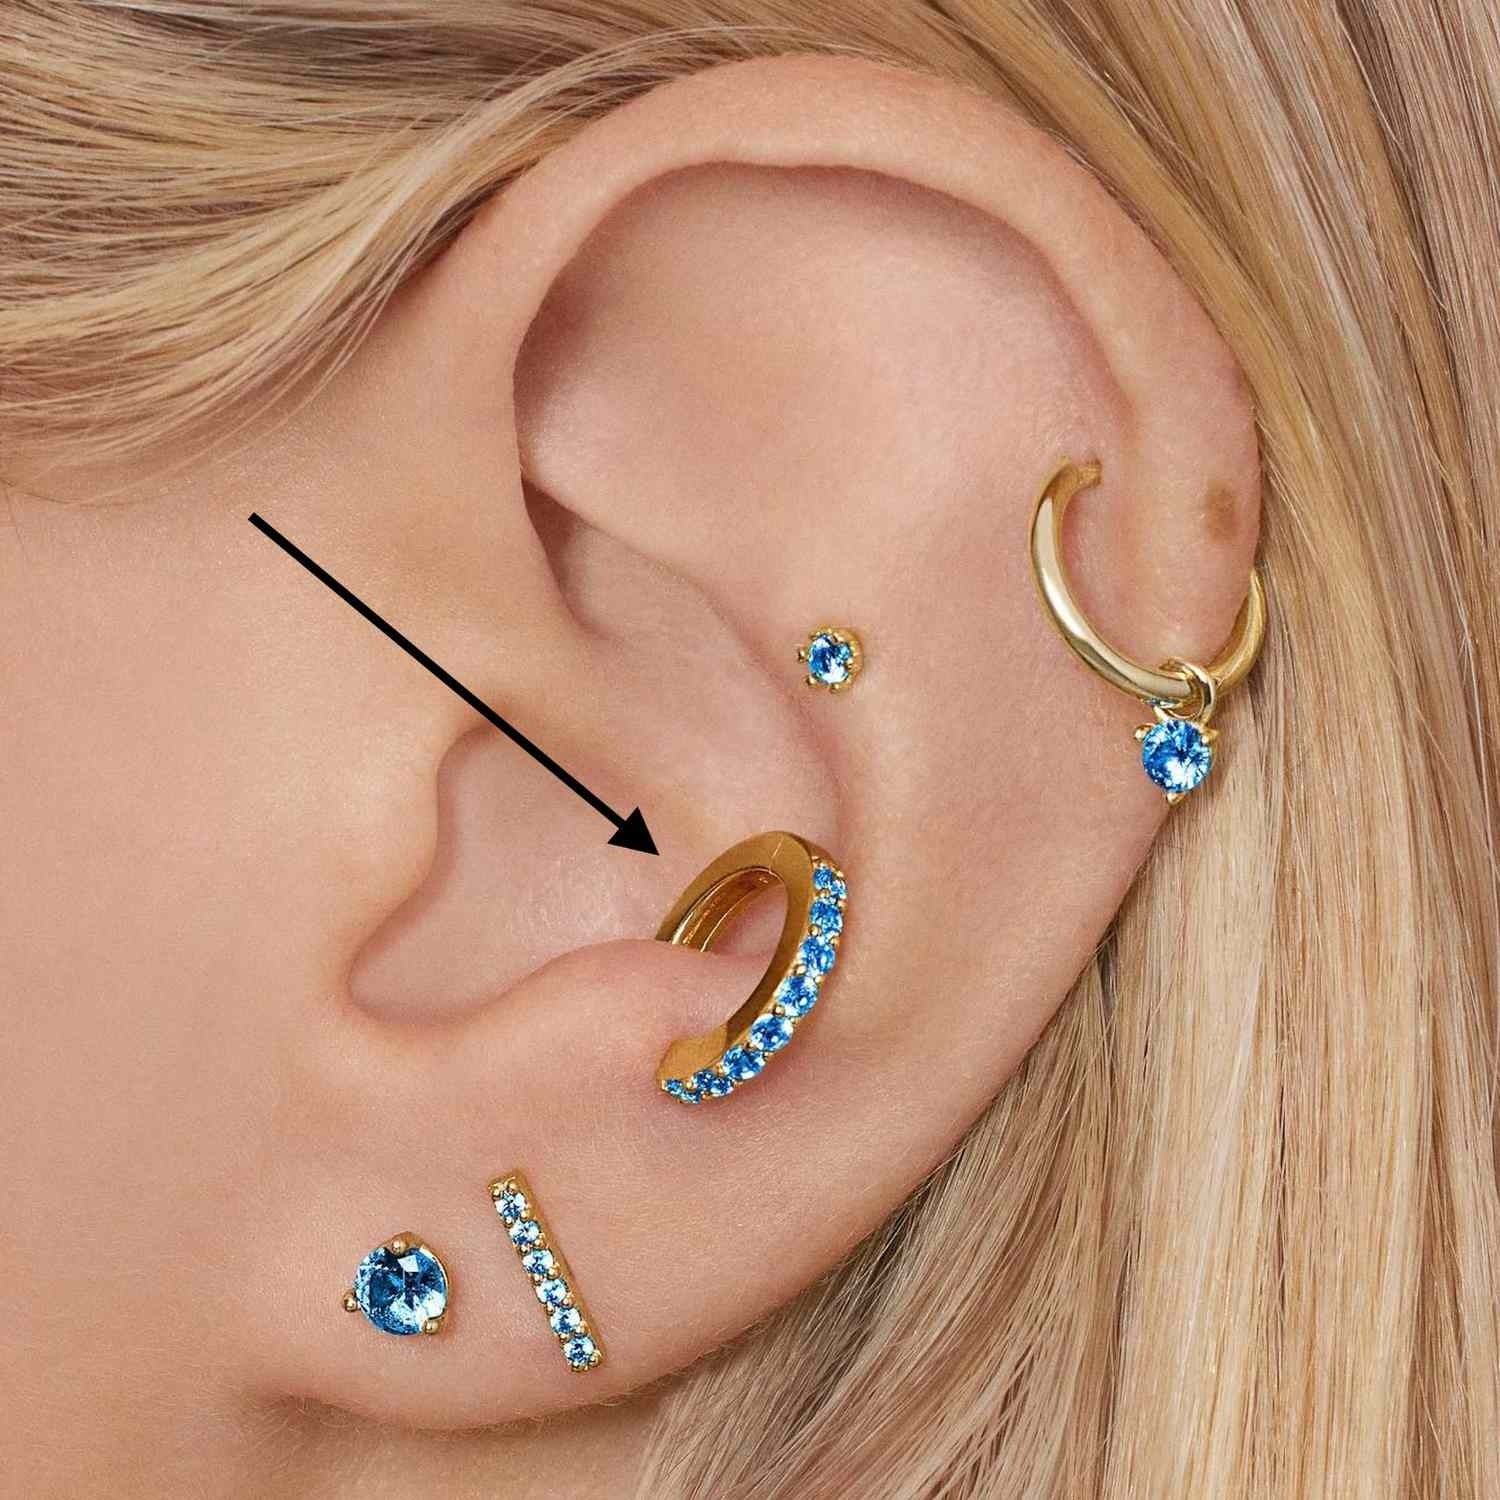
V) Anti-Tragus Piercing
Pain Level: 6/10
Healing Time: 9 months to 1 year
For those looking to balance the tragus piercing, the anti-tragus piercing, located opposite the tragus on the inner side of the ear, provides a harmonious and symmetrical option. If your tragus is not prominent enough to pierce, some piercers may decline piercing it to avoid working against the shape of your ear. A curved barbell or ball closure ring are the best jewelry options for this type of piercing.
VI) Conch Piercing
Pain Level: 4/10
Healing Time: 3-9 months
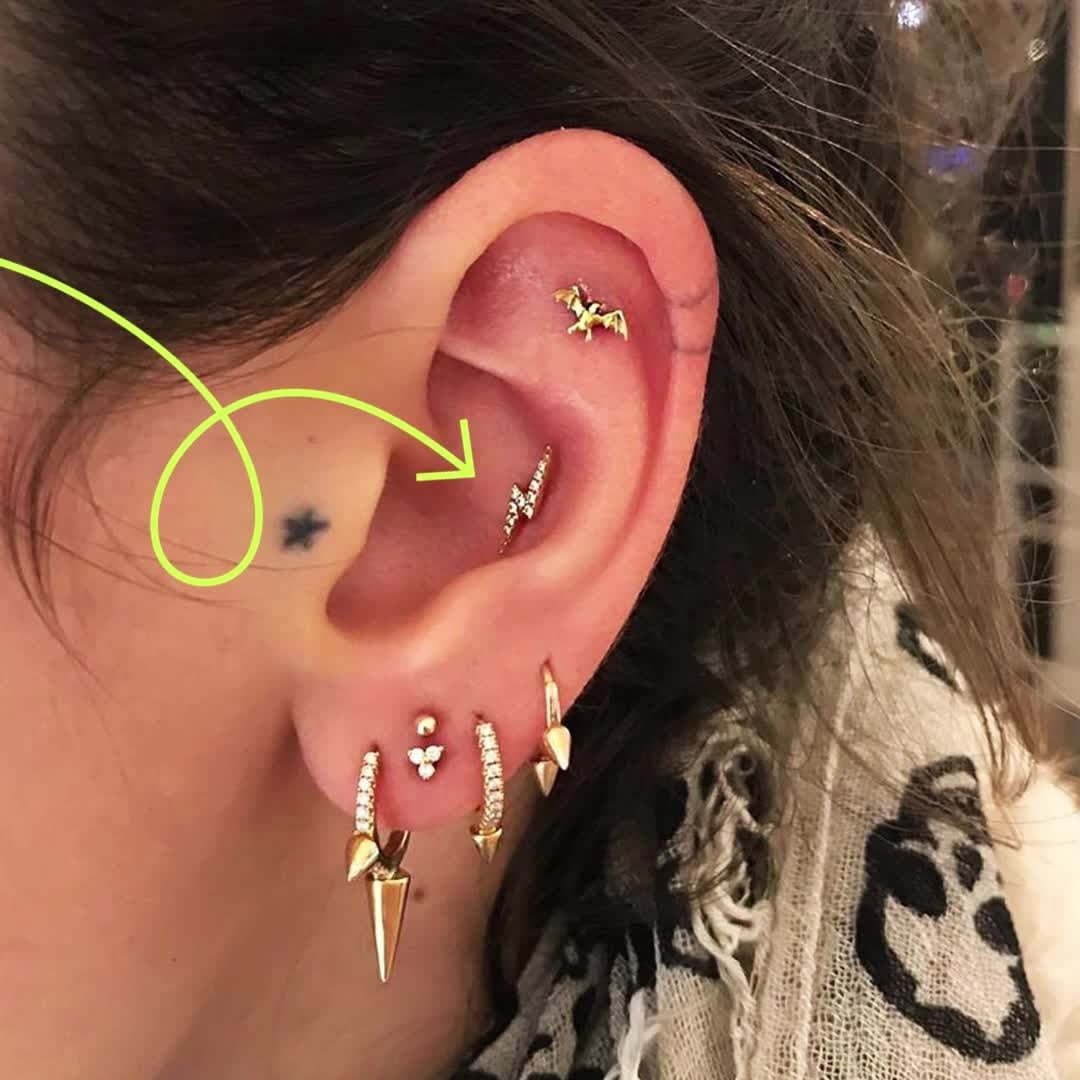
The conch piercing, named after the conch shell's curved structure, is nestled in the middle part of the ear's cartilage. It's a pretty versatile piercing that accommodates an array of jewelry options, ranging from small studs and hoops to more elaborate rings and barbells.
VII) Inner Conch Piercing
Pain Level: 6/10
Healing Time: 3-9 months
The inner conch piercing is located in the middle concave portion of the ear, which is the thickest piece of cartilage on the ear. Avoid wearing earbuds during the healing time as they may irritate your piercing.
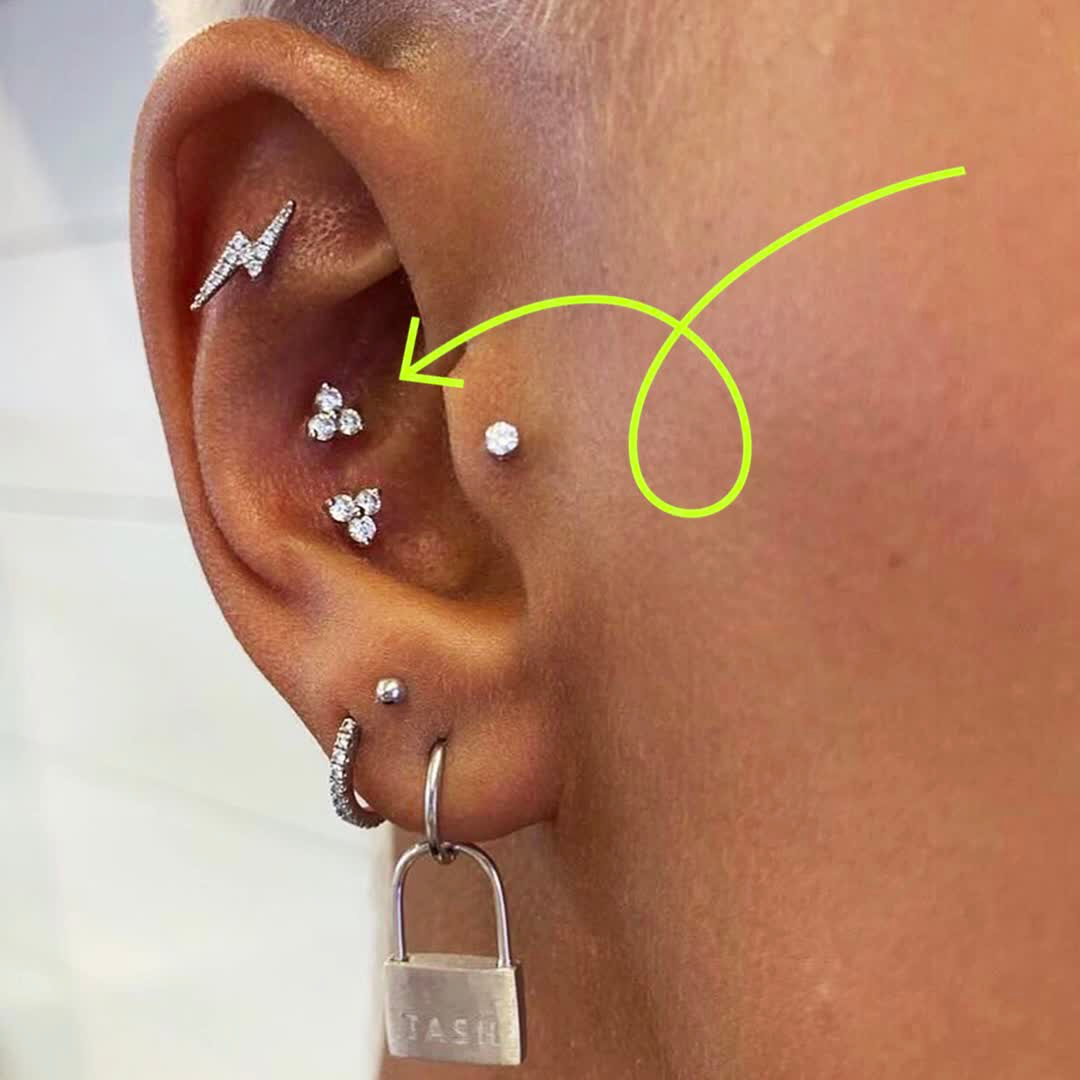
VIII) Outer Conch Piercing
Pain Level: 6/10
Healing Time: 3-9 months
The outer conch piercing, on the flat surface of the cartilage just outside (lower part) the ear canal, is an alternative placement option. Make sure to sleep on the opposite side of your new piercing until it is fully healed.
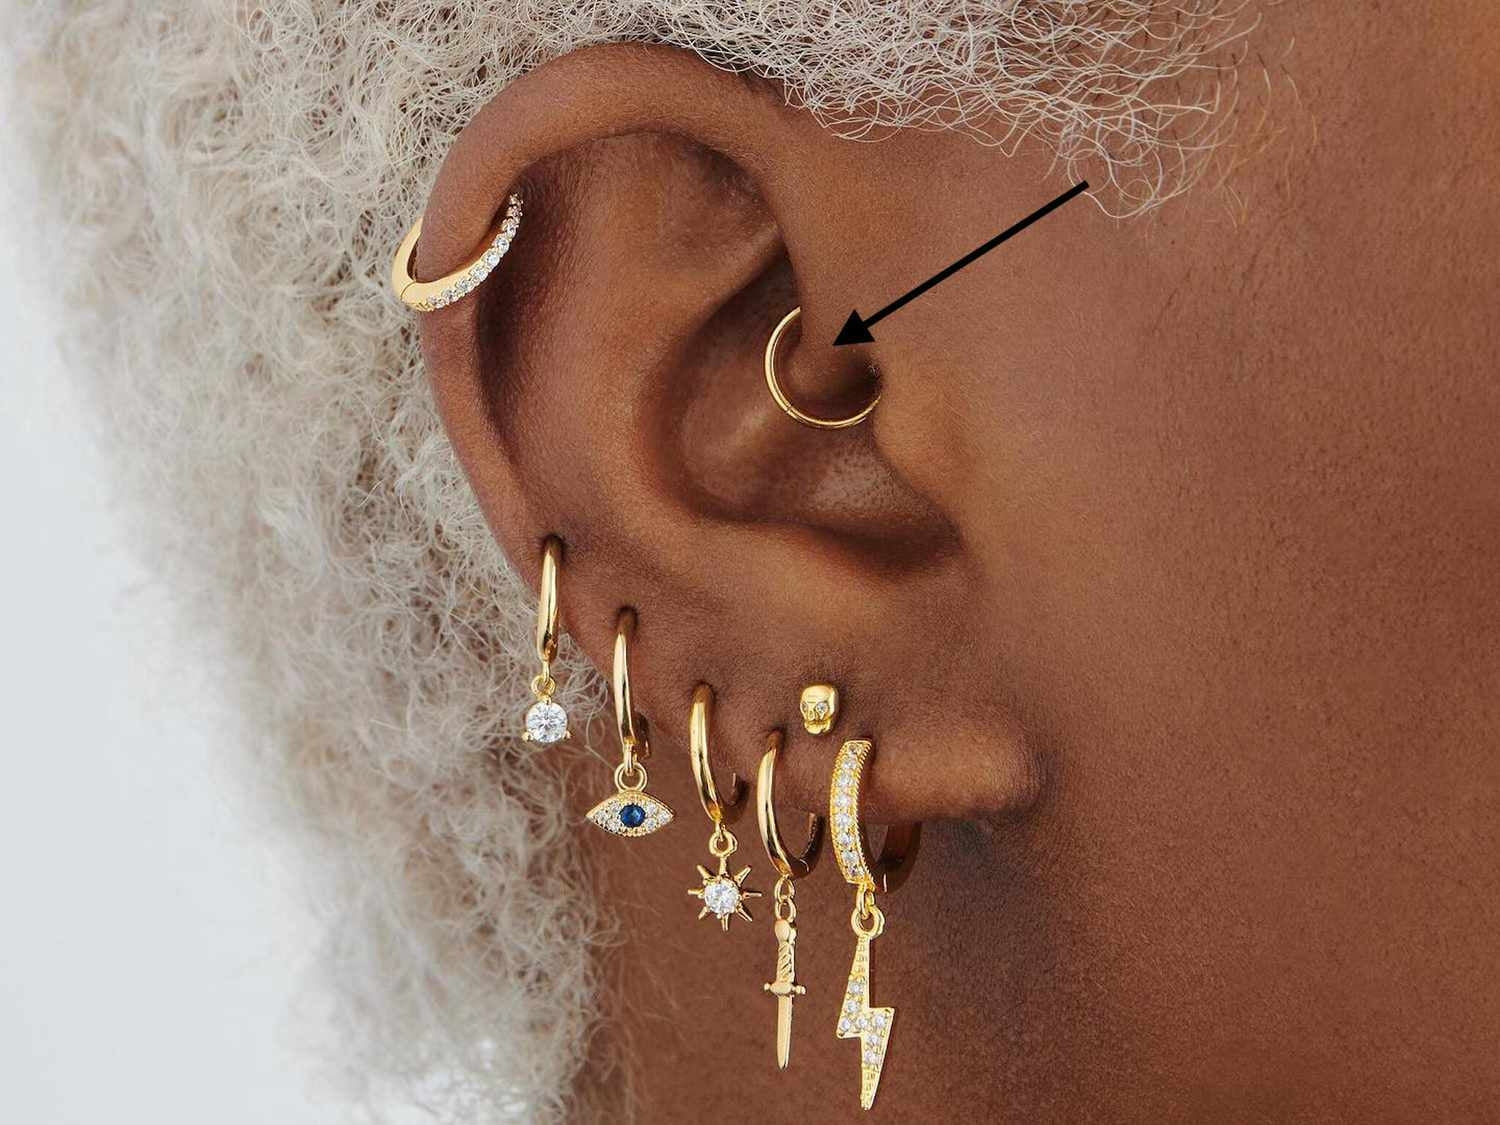
IX) Daith Piercing
Pain Level: 5/10
Healing Time: 6-9 months
The daith piercing, also known as the "migraine piercing" is believed by some people to alleviate migrained or headaches. The daith piercing is strategically placed in the inner cartilage of the ear, above the ear canal. Hoops are the most common choice for daith piercings, with many people opting for small, snug-fitting rings that encircle the cartilage. The circular shape complements the curvature of the ear.
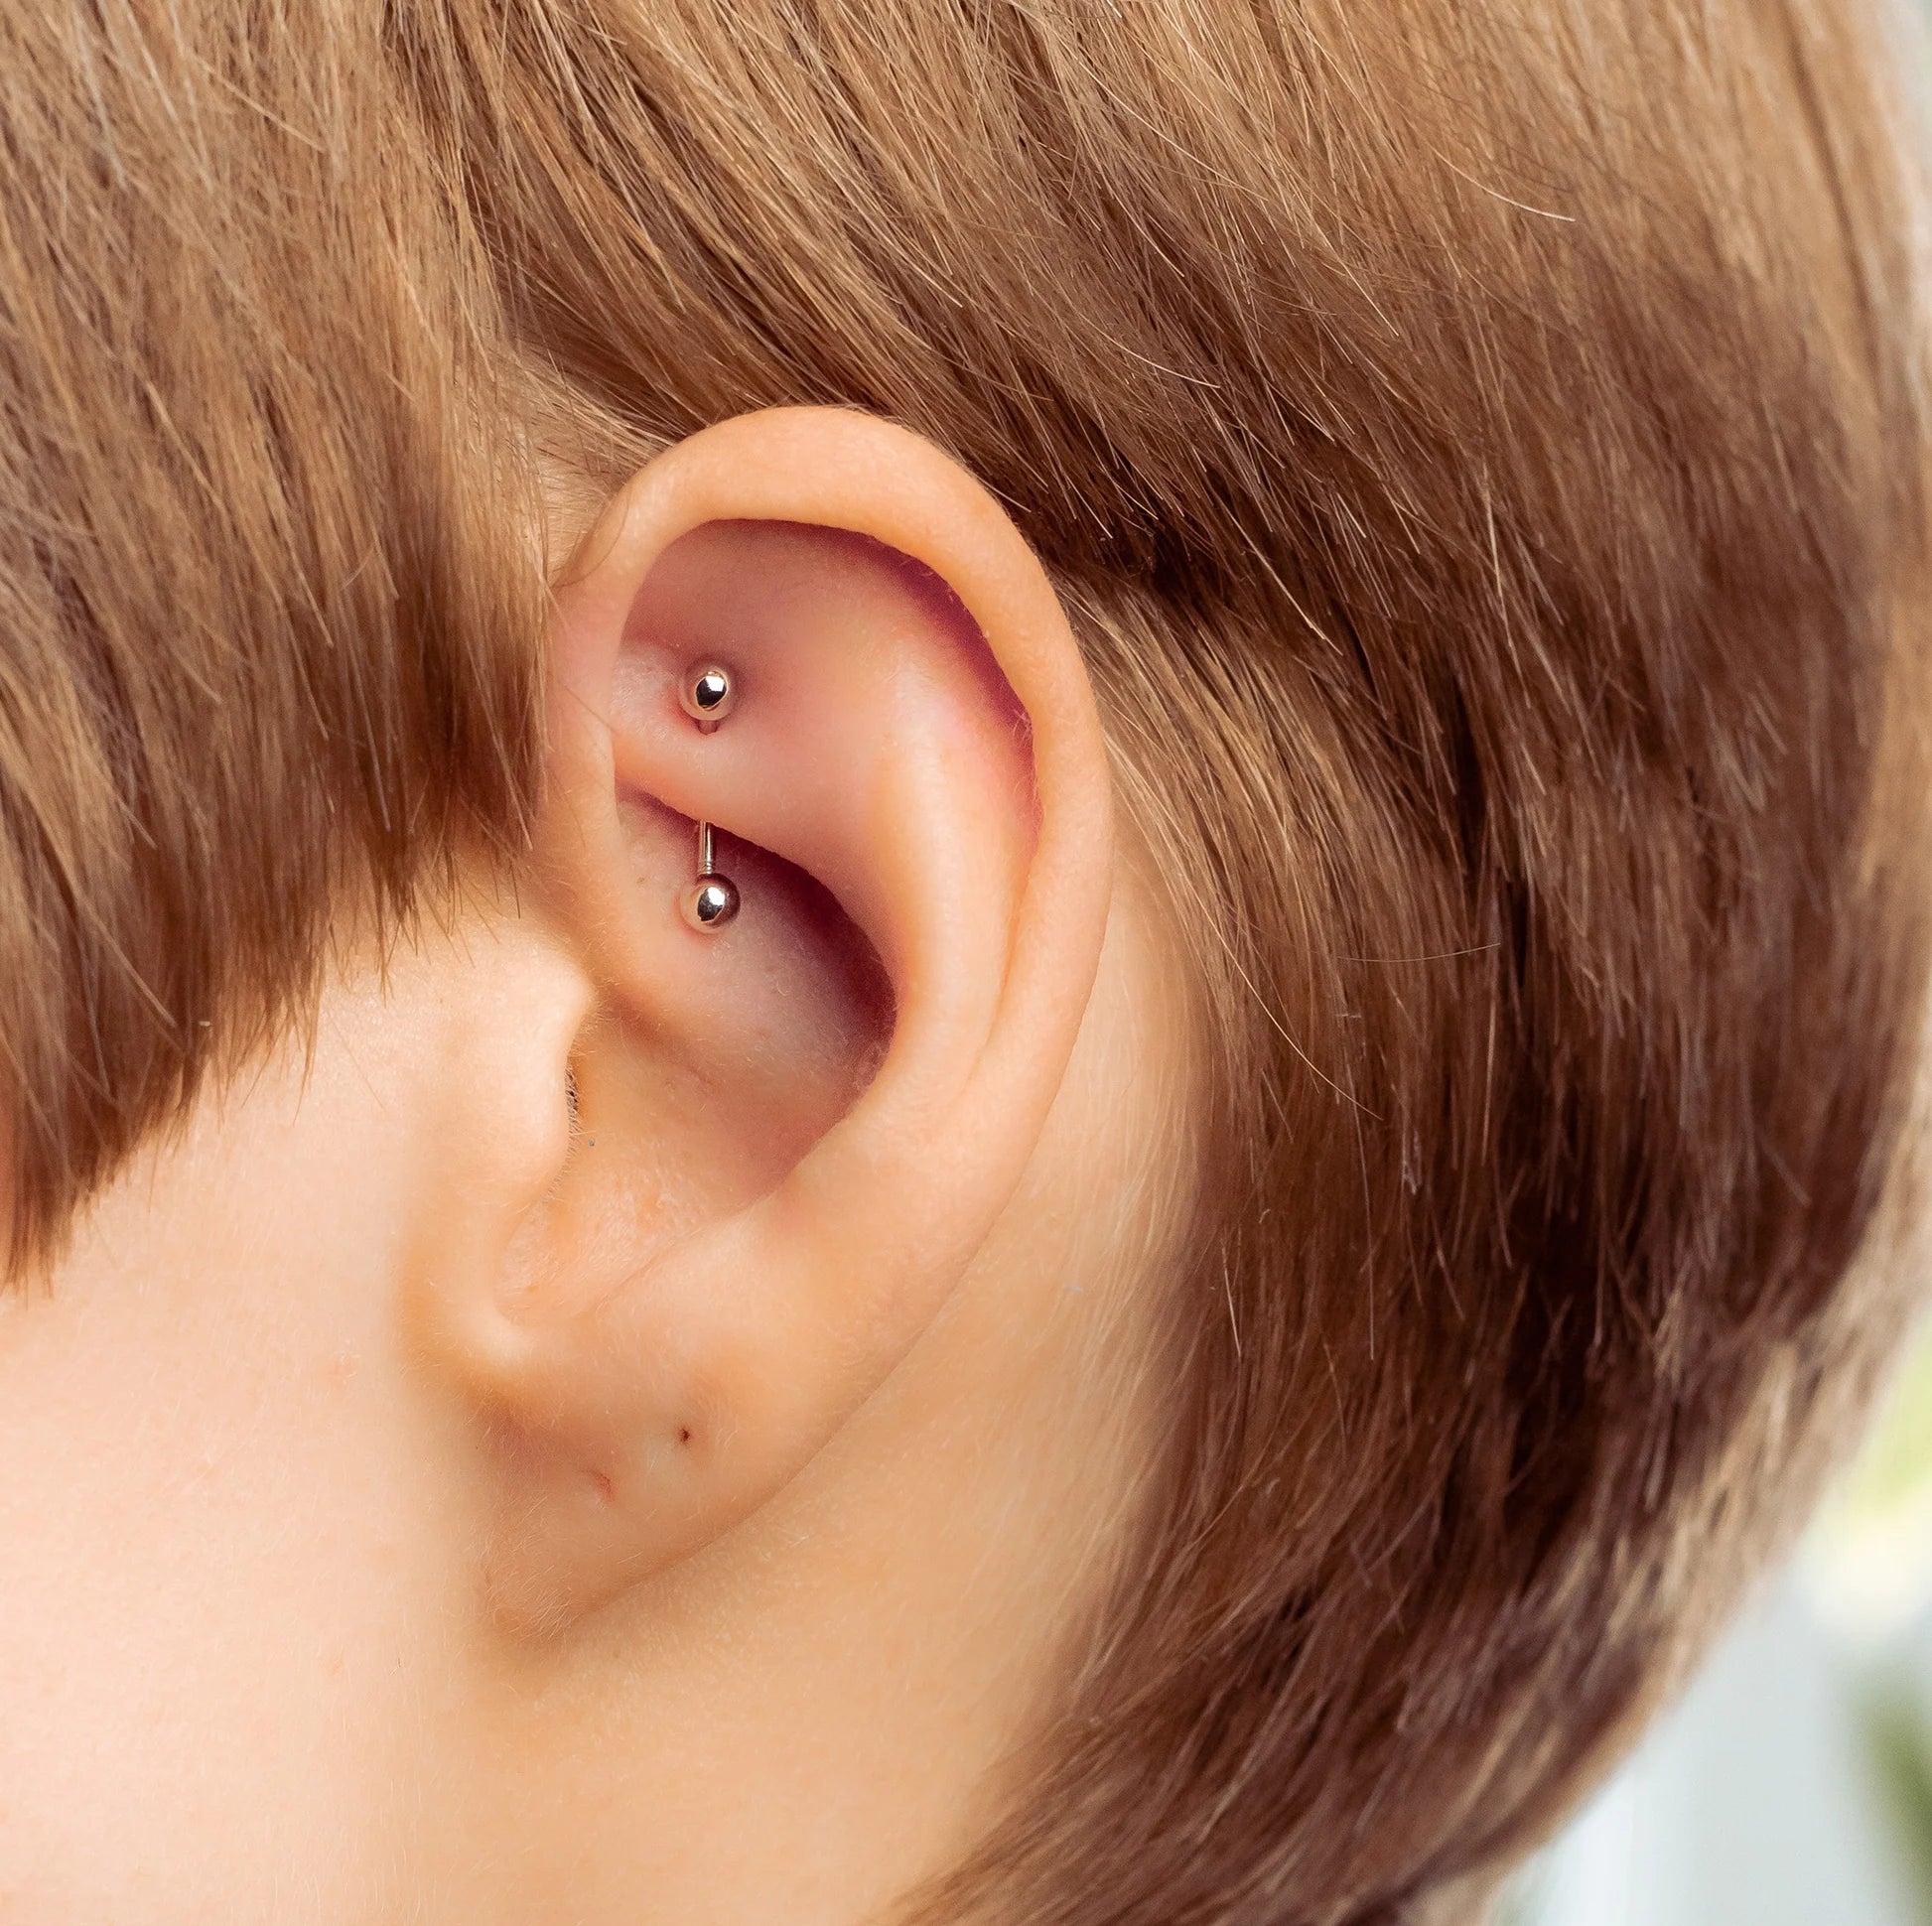
X) Rook Piercing
Pain Level: 6/10
Healing Time: 3-9 months
The rook piercing is situated in the upper ear's cartilage, specifically in the fold above the daith, and between the inner and outer conch. This piercing doesn't pierce as easily as the lobe does; therefore, you may feel a sharp pain and pressure at first , followed by more throbbing. Since the rook cartliage is very thick, this piercing may hurt more than a helix or tragus piercing. Curved barbells, captive bead rings, and small hoops are best for this type of piercing.
XI) Industrial Piercing
Pain Level: 6/10
Healing Time: 9 months to 1 year
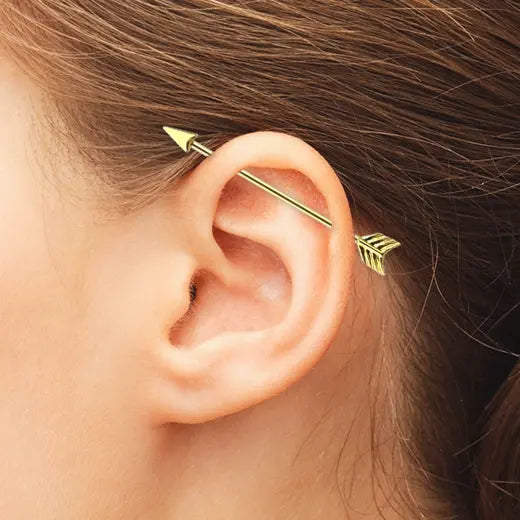
The industrial piercing, also known as the scaffold or bar piercing, is characterized by its distinctive setup: a single barbell that connects two piercings, usually located on the upper cartilage of the ear. Common placements include the the helix or forward helix regions, creating an industrial and visually striking effect.
These piercings are difficult to heal as a result of being two cartilage piercings and most people don't keep them because of how long they take to heal. Refrain from sleeping on this piercing, and be very careful with your glasses and hair resting on it.
XII) Snug Piercing
Pain Level: 9/10
Healing Time: 4-6 months
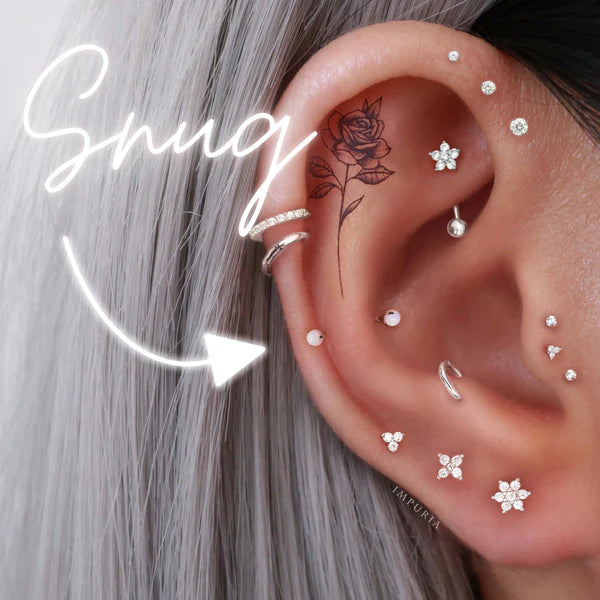
The snug piercing (or anti-helix piercing) is placed horizontally the inner ridge of the ear above the anti-tragus that follows the contour of the outer ear. These piercings accommodate small jewelry styles because of the tight placement. Small curved barbells, captive bead rings, or circular barbells are popular choices.
XIII) Auricle / Mid-Helix Piercing
Pain Level: 3/10
Healing Time: 3-9 months
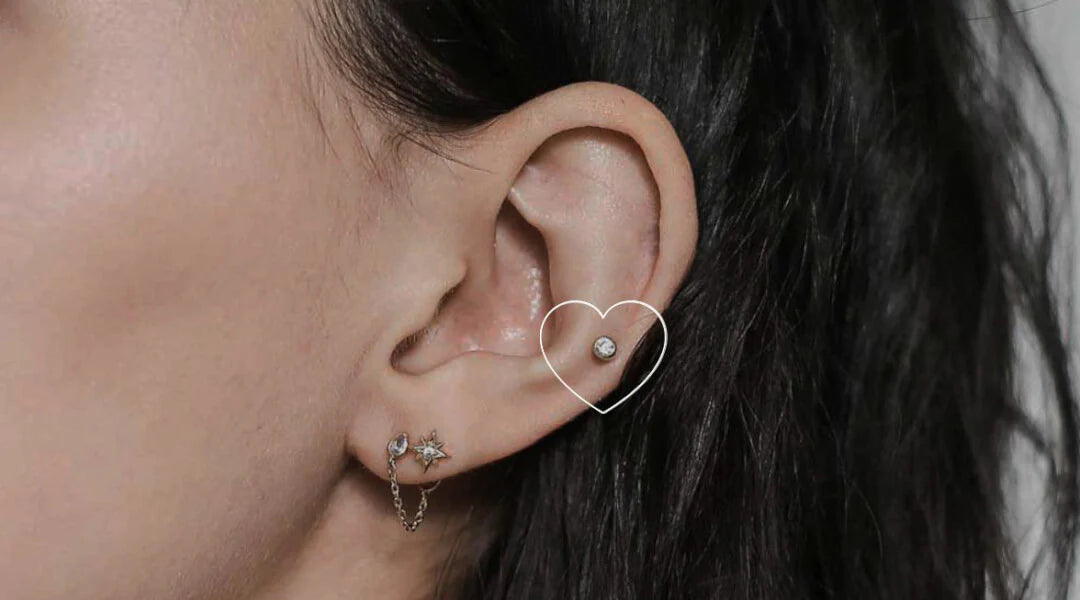
The auricle piercing is typically placed on the outer rim of the ear's cartilage. Since the cartilage in this area is relatively thin, the pain is on the lower end of the scale. Dainty hoops and studs work well for this type of piercing.
XIV) Orbital Piercing
Pain Level: 4/10
Healing Time: 8-10 weeks
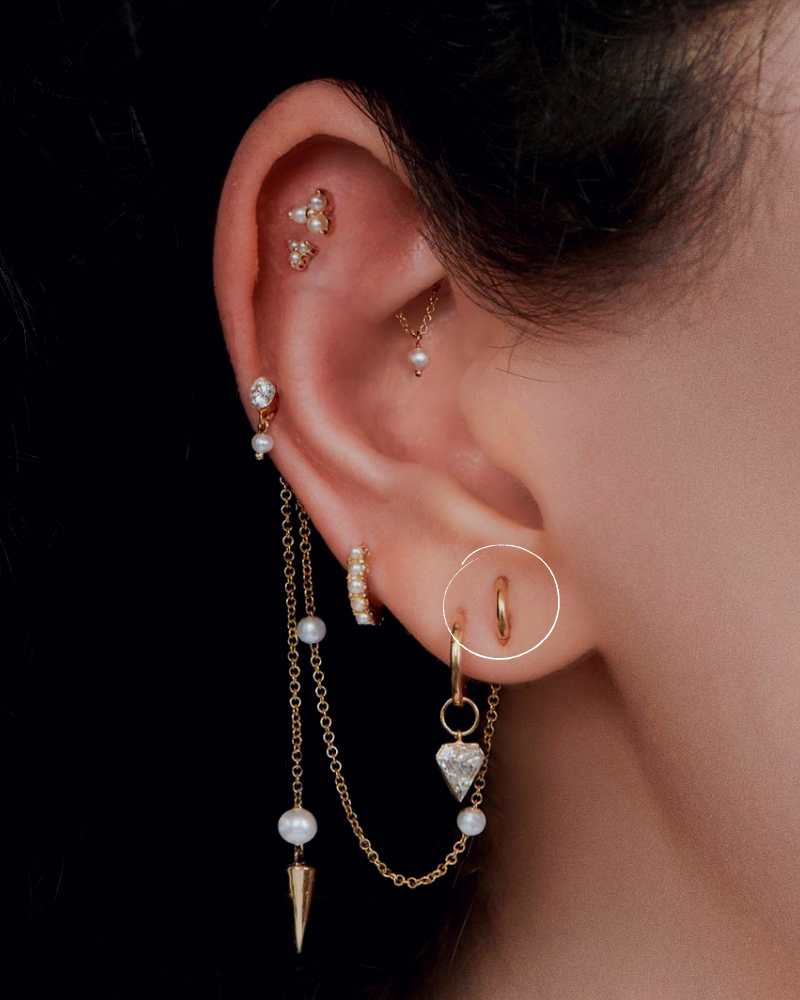
The orbital piercing, named for its resemblance to celestial orbits, connects two separate piercings with a single pierce of jewelry. This can involve any two adjacent piercings on the ear, such as the helix, conch, or any other cartilage area. Orbital piercings are pierced with a ring rather than a barbell, giving the illusion that the piercing is orbiting the ear.
X) Stacked Lobe Piercing
Pain Level: 2/10
Healing Time: 6-8 weeks
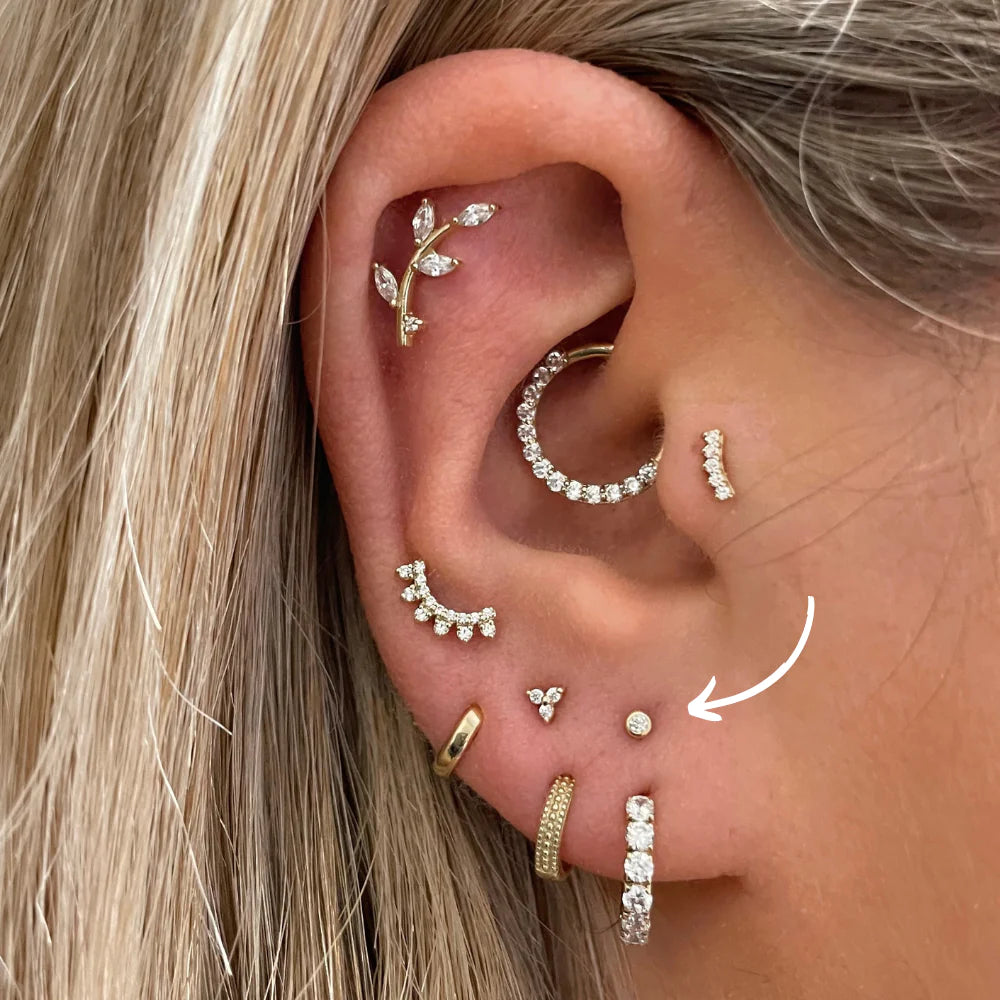
The stacked lobe piercing features a series of piercings along the earlobe, creating a stacked or tiered look. The number of piercings can vary based on individual preference, ranging from a subtle double stack to a more elaborate arrangement with multiple piercings. Pain and healing time are minimal. Tiny studs, hoops, ear cuffs, or even miniature barbells can be used, allowing for creative combinations and the opportunity to mix and match different styles for a personalized look.
Proper aftercare is crucial to ensure a smooth and comfortable healing process for ear piercings. Here's a comprehensive guide to help you navigate the aftercare process and keep your ear piercings healthy:
- Wash your hands thoroughly with soap and water before touching your pierced ears. Cleanliness minimizes the risk of introducing bacteria to the piercing site.
- Use a saline solution or an antiseptic solution recommended by your piercing to clean your piercings. Avoid harsh chemicals like hydrogen peroxide, alcohol, or ointments as they can hinder the healing process.
- Clean your piercings twice a day. Overcleaning can be counterproductive and may irritate the pierced area. Stick to a consistent cleaning routine to maintain optimal hygiene.
- Refrain from touching your piercings unnecessarily. Only handle your earrings when cleaning or rotating them during the healing process. Excessive touching increases the risk of infection.
- Steer clear of swimming pools, hot tubs, and bodies of water during the initial healing period. Submerging your piercings in water can introduce bacteria and prolong the healing process.
- Avoid using earphones or headphones that press against or irritate the pierced area.
- Opt for high quality, hypoallergenic jewelry to minimize the risk of irritation or allergic reactions. Avoid changing earrings prematurely.
- Keep an eye out for signs of infection, such as persistent redness, swelling, increased pain, or discharge with an unusual color or odor. If you notice any of these signs, consult your piercer or a healthcare professional promptly.
- If your ear piercing is on the side you sleep on, try to sleep on the opposite side during the initial healing period to prevent unnecessary pressure on the pierced area.
